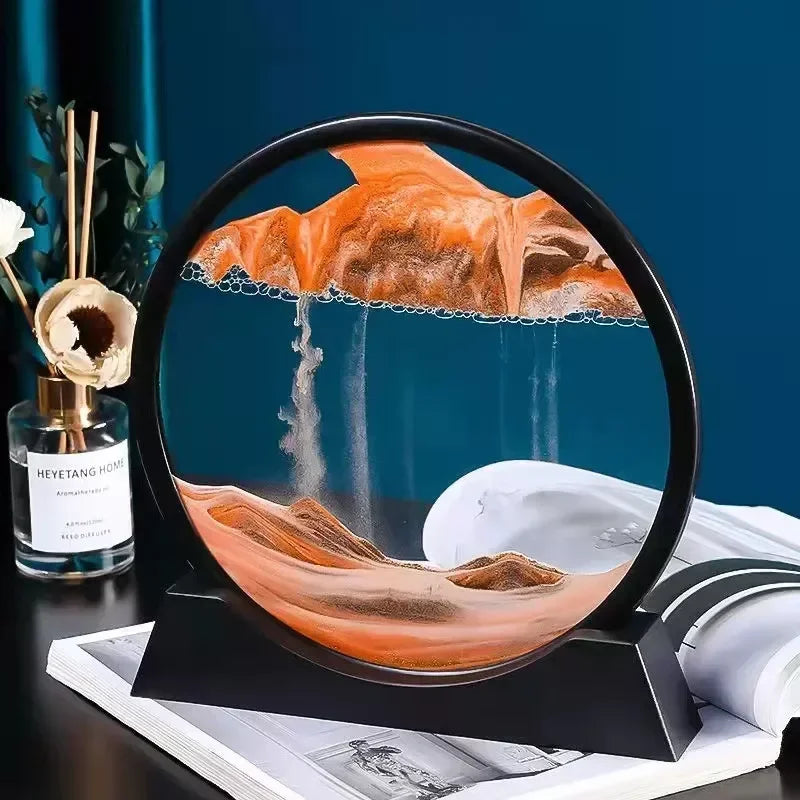
Embark on a journey of tranquility and artistic beauty with your 3D Moving Sand Art. This comprehensive guide is packed with insightful tips and instructions to help you customize and fully enjoy your dynamic sand sculpture. Whether you want to slow down the cascading sands for a more languid display, or speed things up for a mesmerizing whirlwind of color and motion, we've got you covered.
Unpacking and Initial Setup
- Careful Unboxing: Gently remove your Moving Sand Art from its packaging to avoid any accidental spills or damage.
- Choosing the Perfect Spot: Select a location that offers both good visibility and safety from accidental knocks or bumps.
Adjusting Sand Flow Speed
One of the unique features of your Moving Sand Art is the ability to adjust the speed at which the sand moves. This is done by controlling the amount of air inside the sealed glass frame. By increasing the air volume, you create more space for the sand to fall slowly; conversely, reducing the air volume will result in a faster sand flow.
Tools You'll Need:
- Syringe: A small syringe, preferably with a thin needle, will be instrumental in making precise adjustments.
Slowing Down the Sand:
-
Injecting Air:
- Locate the small silicone hole or air vent, usually found on the side or back of the frame.
- Insert the needle of your syringe into the hole gently.
- Slowly inject air into the frame, being careful not to over-inflate.
-
Observation:
- After injecting air, let the sand settle for a few minutes.
- Turn the frame to initiate sand flow and observe the speed.
- Repeat the air injection process if you desire a slower movement.
Speeding Up the Sand:
-
Removing Air:
- Insert the empty syringe into the silicone hole.
- Gently pull back the plunger to extract a small amount of air.
- Remove the syringe needle carefully to avoid letting in additional air.
-
Checking the Flow:
- Allow some time for any disturbances to subside.
- Invert the frame as before to check if the sand moves faster.
- If necessary, continue to remove small amounts of air until the desired speed is achieved.
Maintenance and Care
- Clean with Care: Use a microfiber cloth to wipe the glass gently. Avoid harsh chemicals that can damage the seal or glass.
- Avoid Direct Sunlight: Prolonged exposure to the sun can cause the colored sand to fade and may affect the liquid inside.
- Room Temperature: Extreme temperatures can impact the viscosity of the fluid and sand flow. Keep your Moving Sand Art at room temperature for best results.
With these steps, you now have the power to fine-tune your 3D Moving Sand Art to reflect your preferred pace and style. Enjoy the calming effect and the creative flair it brings into your space.
Customer Reviews (0 comments)